Learn in this article how to set up a fully functional mail server. As e-mails are today an essential part of business communication, we recommend to embed the mail server as a central service into the IT of your organization.
Let me show you here not only how to do this but also explain the various options for receiving and sending mails. In addition, I will describe how to configure the users.
Installation of the server
The installation of a mail server is very easy with UCS. To guarantee a productive operation, I recommend installing it on a separate server (virtually or physically). Install a UCS slave as the server so that a local LDAP can quickly serve the requests from the mail server. To do this, first go to the Univention App Center, select the component UCS Mail Server and install it on the UCS slave server.
The installation via the App Center makes sure that a complete mail server will be installed with the following components:
- Postfix – fuctions as Mail Transfer Agent (MTA)
- ClamAV – for the virus check
- Spamassassin – as a spam controller and spam blocker
- Dovecot – functions as a Mail Delivery Agent (MDA)
Configuration of the server
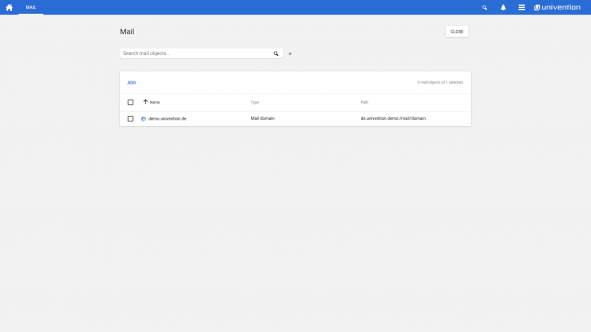
The initial configuration uses the UCS domain, which you defined during the installation of the UCS Master, for the creation of the mail domain. Further mail domains can be set in the module “E-Mail” via domain (see documentation).
The mail server is now prepared for the operation within the UCS domain. In this stage, the mail server could receive and send e-mails to the domain. With an appropriate access to the Internet, it would also already be possible to send e-mails to external mail servers and thus to external domains.
However, I recommend to take a closer look at the configuration as the following steps still need to be configured:
- Assign e-mail addresses (activate users for the e-mail service)
- Enabling reception from external domains
- Configuring dispatch to external domains
Assign e-mail addresses and activate users
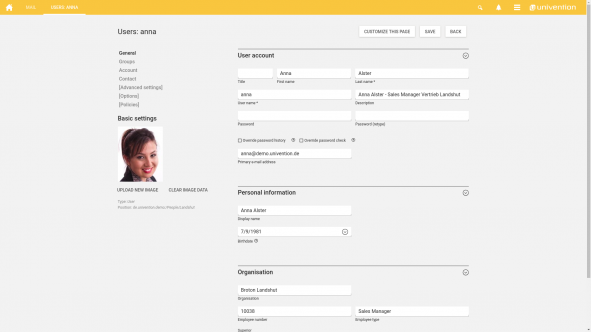
For users to receive and send e-mails, they need a mailbox and an e-mail address. Their e-mail address can be set in the module “Users” in the tab “General”. Enter here in the field „Primary e-mail address“ any e-mail address that is unique in the domain. It is important that the used mail domain has been configured beforehand as described above.
By setting the e-mail address, a mailbox is automatically created for the user in Dovecot. This means that as soon as an e-mail address has been configured for a user, it is ready for use. The mail server accepts both internal and external mails for this address and delivers them to the user’s mailbox.
You can also check this quickly on the command line with the tool Swaks (Swiss Army Knife for SMTP):
swaks --to user@example.org --server ucs-mail-server.example.org
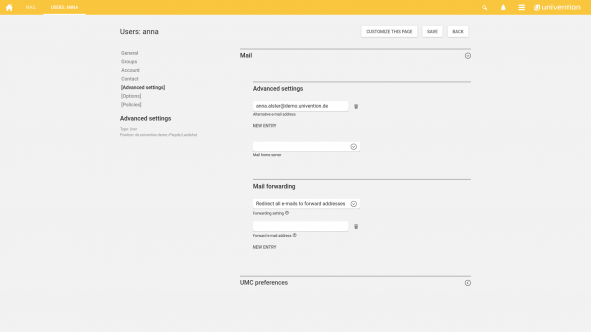
In addition, you can make further user settings. For example, it is possible to configure alternative e-mail addresses or specify a general forwarding to another address.
Configuration for internal and external operation
To receive and send e-mails within the internal network, there is nothing else to be done except the previously explained assignment of e-mail addresses to users.
For the external mail receipt and dispatch it is necessary to follow a few rules. Further, you need to clarify how mails shall be received and how the dispatch shall work.
There are several possibilities for the reception. I will here show two examples:
- Using the App Fetchmail, you can fetch the mails from a remote mail server (e.g. ISP’s mail server) and deliver them locally.
- The UCS Mail Server can be placed “on the Internet” to function as a fully-fledged mail server.
For the second variant it is necessary to create a DNS MX Resource Record for the mail server. The resource record is responsible for resolving the domains to the IP of the mail server. Here it is also important that the UCS Mail Server receives a fixed public IP address. This can be configured with a firewall via NAT or directly on the server.
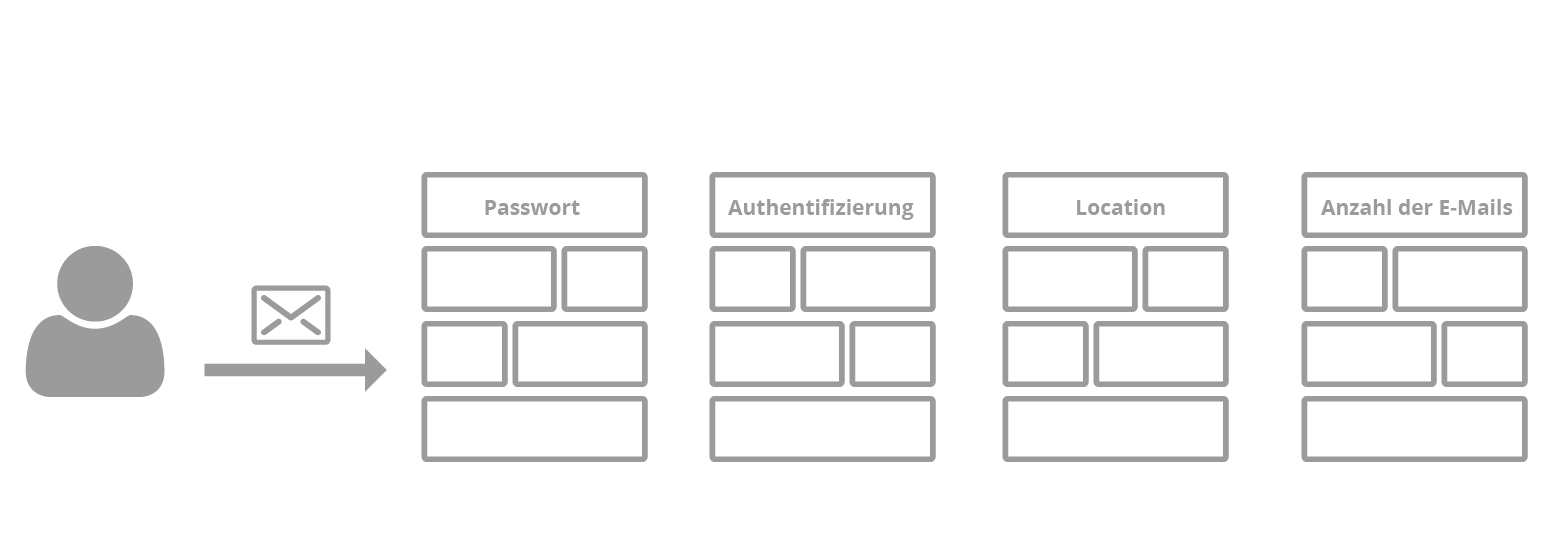
Learn additional measures in this article of how you effectively protect your users and mail servers against hacker attacks.
Short Introduction: How to Upgrade Your E-mail Server to a Bullet-Proof Fortress
To send e-mails, the mail server must only be allowed to perform DNS resolutions and be able to reach the corresponding mail servers on the Internet. Most mail servers on the Internet have corresponding checking rules. Therefore I recommend to assign a fixed IP address to the UCS mail server. Besides the reverse DNS lookup should point to the hostname of the server. In most scenarios, these requirements are enabled via NAT. The entries for the DNS (Reverse as well as MX Record) must be stored accordingly in the public DNS server.
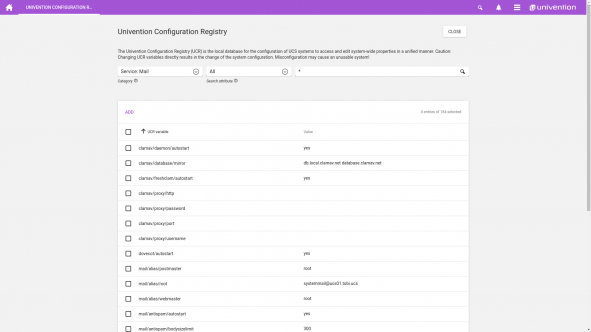
For securing the mail server, there are a number of UCR variables. You can find these in the category “Service: Mail”.
In the already above recommend article, my colleague points out various configuration options to setup a secure mail server.
Prospects
At the moment we have a working mail server. Users can log in to send and receive e-mails. Tough currently this is only possible with an e-mail client (e. g. Mozilla Thunderbird). However, in the App Center you can also find the app Webmailer Horde, which will be automatically integrated into the UCS mail server after installation.
Take a look at the App Center for further useful tools that can enhance the mail server and be helpful in your organization.
Conclusion
A mail server with UCS is quick and easy to set up. It only needs few requirements (public IP & DNS MX resource record) as the initial configuration is done automatically by Univention respectively UCS. In addition, the integration into the UCS identity management system is automated. Thanks to this, your users can access the e-mail service with their known user name and password directly after you have activated them.
For further questions, please comment below or visit the Univention forum.
Wanting more? The following articles might also be very interesting for you:

