User administration is a key feature of UCS and can be accessed through the „User“ module. In this article and the corresponding Howto video tutorial, I will explain its primary functions. These include:
- searching for users
- creating users
- modifying user attributes
- the detailed user overview
- editing passwords of single or multiple users simultaneously
- deleting users
- administration of users in groups
Introduction to the User Administration in UCS
Searching for Users
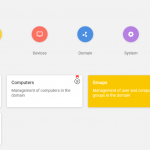
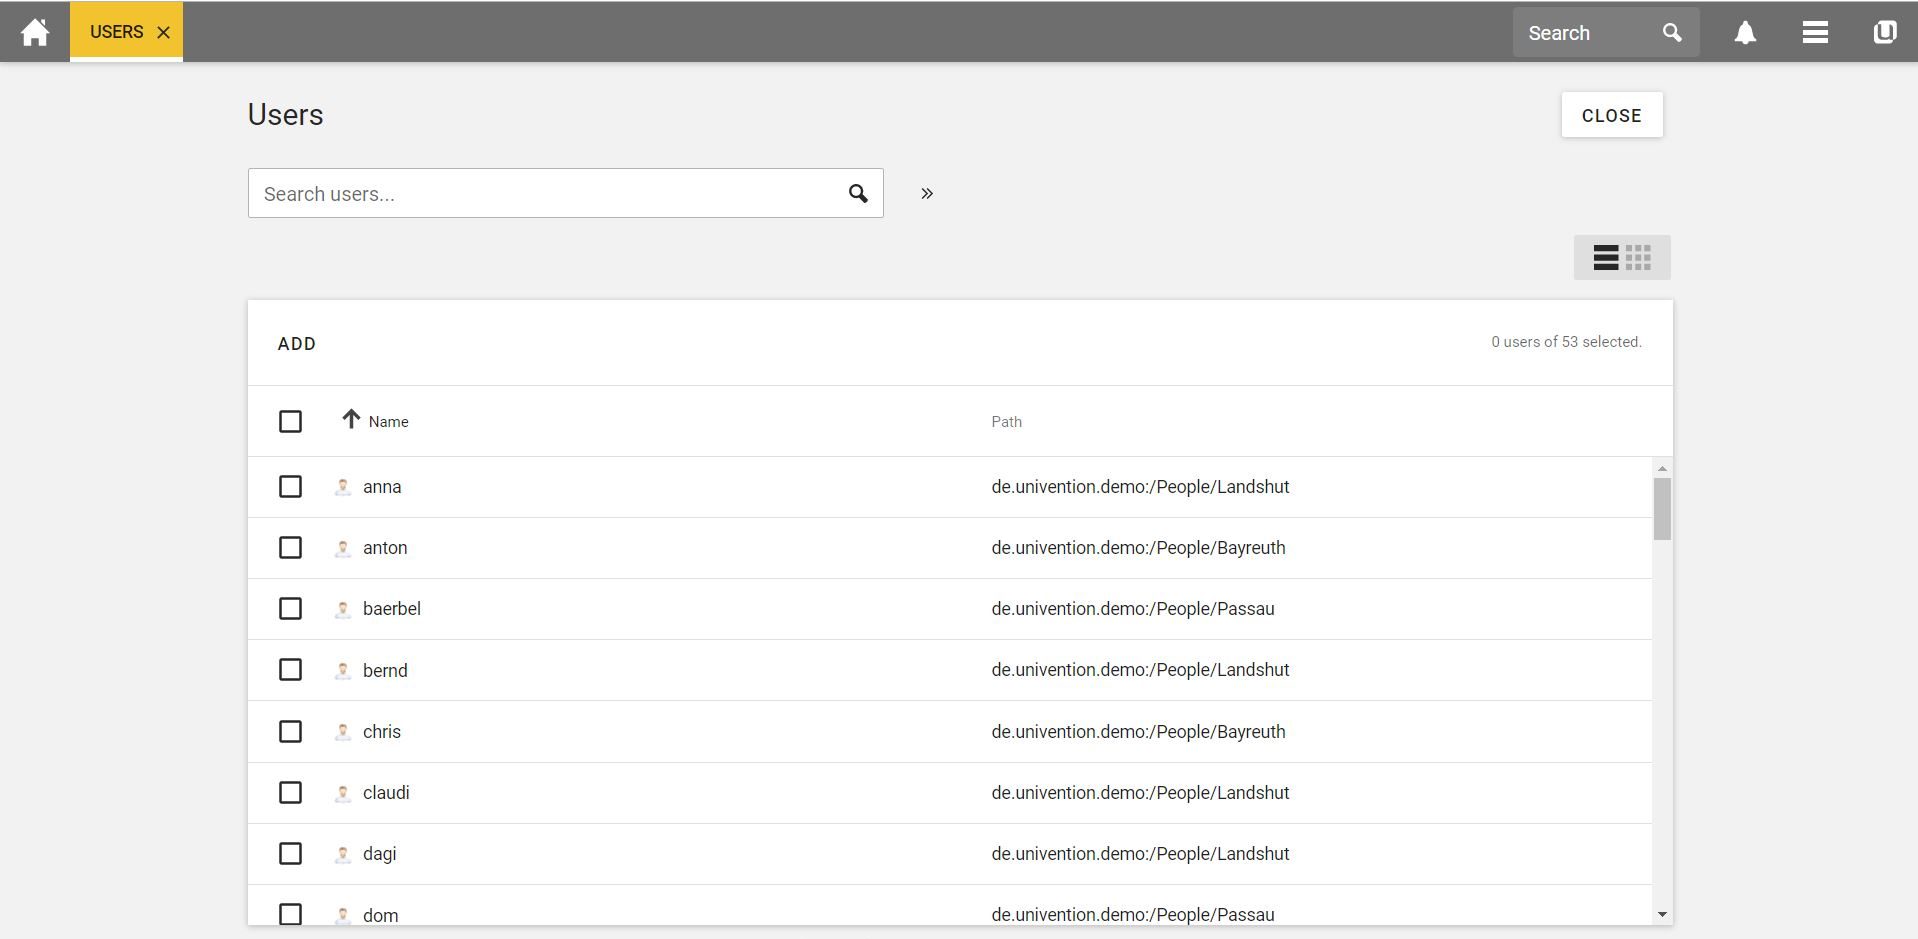
To search for a user, you need to open the user overview, first. To do so, use the Univention Management Console (UMC) and go to „Users“ in the menu and then open the „User“ module. Should you already have added that module to your favourites, you can also use „Favourites“ to get to the user overview.
The user overview displays an overview of all users. You can choose between the list view or the tile view, here. To do this, just click on either the three bars for the list view, or the nine tiles for the tile view.
A search field is located above the user overview, which allows you to search through all users. You can search by first name, family name, user name or e-mail address.
If you want to return to the overview of all users, delete your entry from the search field and then press Enter.
Finding a User via Advanced Properties
By clicking on the double arrow to the right of the search field, you get to the „Advanced Options“. These allow you to find users through additional properties. To do this, you set the container in which you want to search, decide whether hidden objects should be displayed or select the desired property, such as the employee number.
Everything at a Glance with the Detailed User Overview
Clicking on a user name takes you to the detailed user overview. Under the „General“ tab, you can define the essential attributes for the user, such as the name, the description and the primary e-mail address. When you scroll down, you can enter further data about the organization and add superiors. Under „General“, you can also manage the user‘s password. If you want to change the password, you can simply define a new password here and select whether or not the password history should be ignored. The password history prevents the same password from being used again by the same user, thereby increasing security.
The password check guarantees that any chosen password complies with the given guidelines – you can define these guidelines for all users under the „Policies“ tab.
Under the tab „Groups“ you can define the different group memberships of the user. Usually, every user should be a member of the primary group „Domain Users“. Should you ever wish to change the rights of all users, you can do so via the group „Domain Users“.

How-To: Administration of Groups in UCS
Whether it’s for access to the UCS portal, printers, or files, users’ authorizations in UCS are defined by their group memberships. This process facilitates the administration of authorizations in large environments in particular as there is no need to … read more
„Account“ – Blocking Users and Having Them Automatically Deactivated
Under the “Account” tab you can make various settings for the deactivation of users and also create an account expiry date, for example. If a user has entered his password incorrectly too often, for instance, this user will be blocked. The user can be de-blocked under the item “Locked login”.
Under the tab „Account“ you can furthermore
- adopt various settings for the Windows client,
- set a certain Samba privilege if required,
- define the times at which the user can log in and optionally restrict the user’s login to certain computers.
In the section “POSIX(Linux/Unix)” you can, among other things, view and change the path of the Unix home directory, set a specific home directory share and, for example, view the user ID. You can also configure SAML settings here.
„Contact“ – Business and Private Contact Details
Under the tab “Contact” you can enter business and private contact data. This includes information such as further e-mail addresses, telephone numbers as well as place of residence and workplace.
If you have made any changes under one of the tabs of the user detail view, save them by clicking on the “Save” button in the upper right corner.
Adding Users
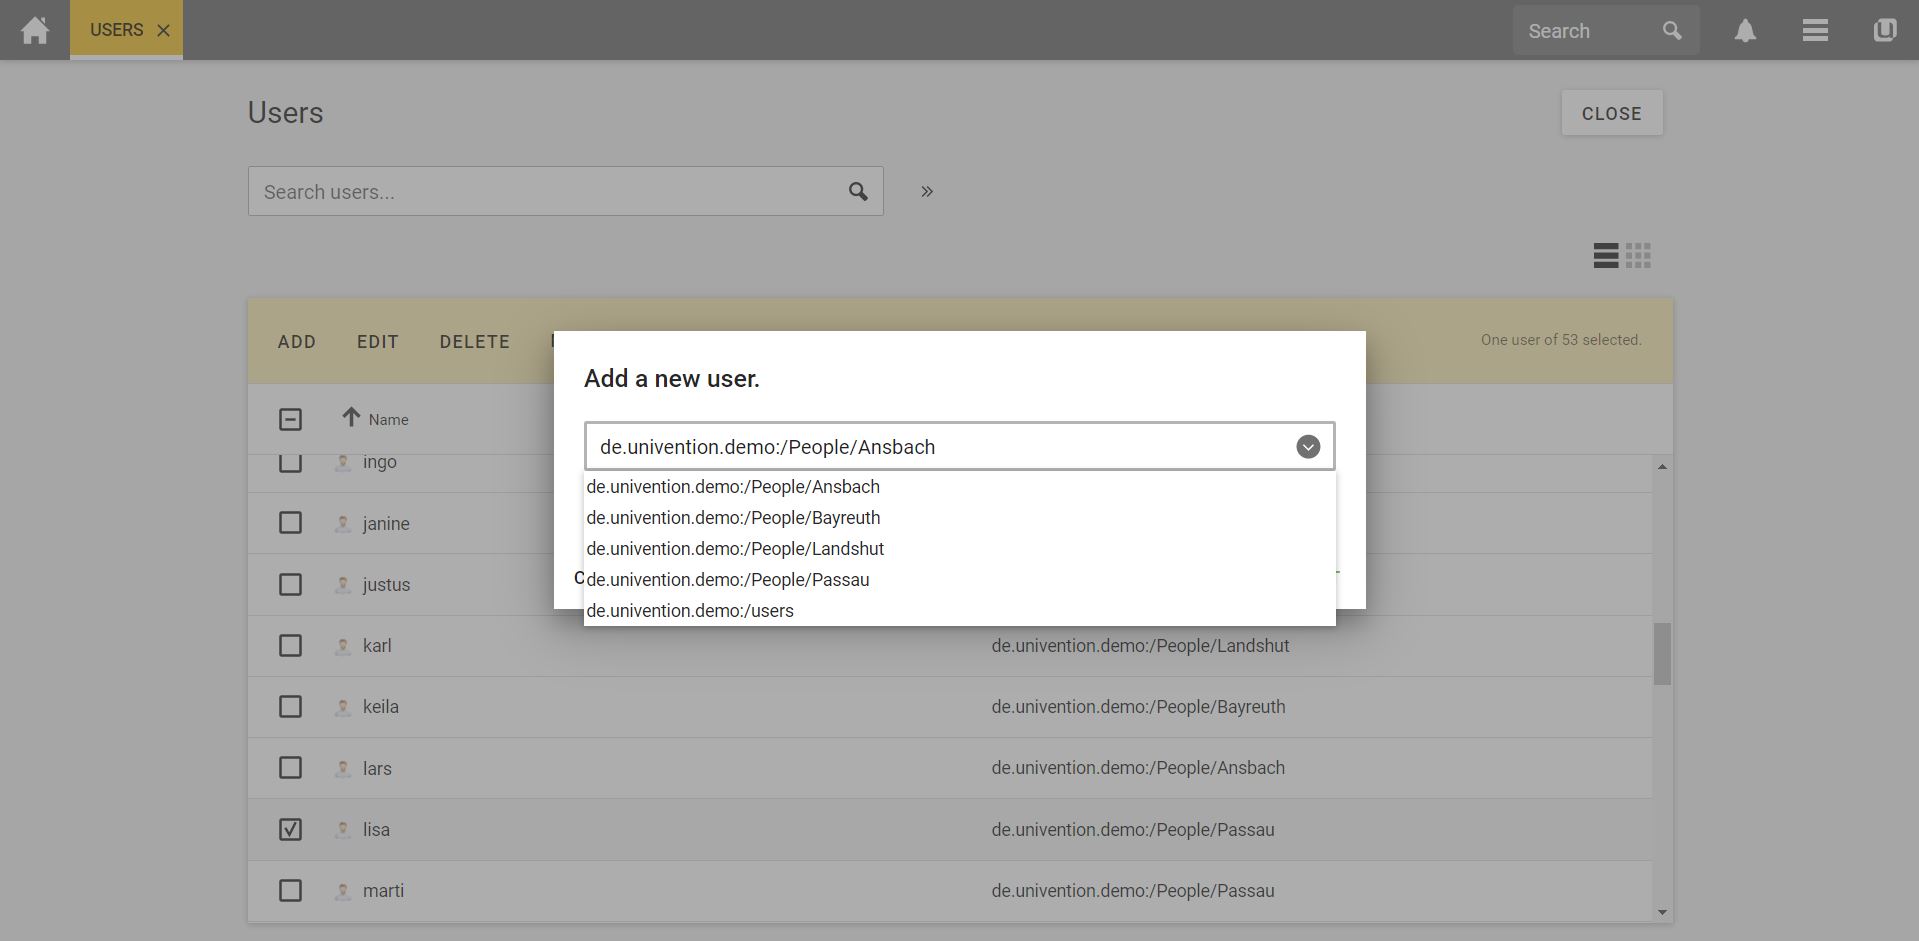
To add a user, select “Add” from the general user view. A dialog box opens in which you first select a container in which the user is to be saved. After a click on “Next” you can enter the key details of the user.
Here it is important that at least family name and user name are entered. After a click on “Continue” you set a password – this can be a standard password. In this case I recommend to specify that the user is forced to change his password the next time he logs in.
Here you can also specify that the password check for this entry is to be ignored and, if necessary, you can preset whether the account is to be deactivated at first. If you wish to make further settings, click the “Advanced” button to access the detailed user view. With a click on “Create user” the user is created and you can directly start to add another user.
Editing Multiple Users at Once
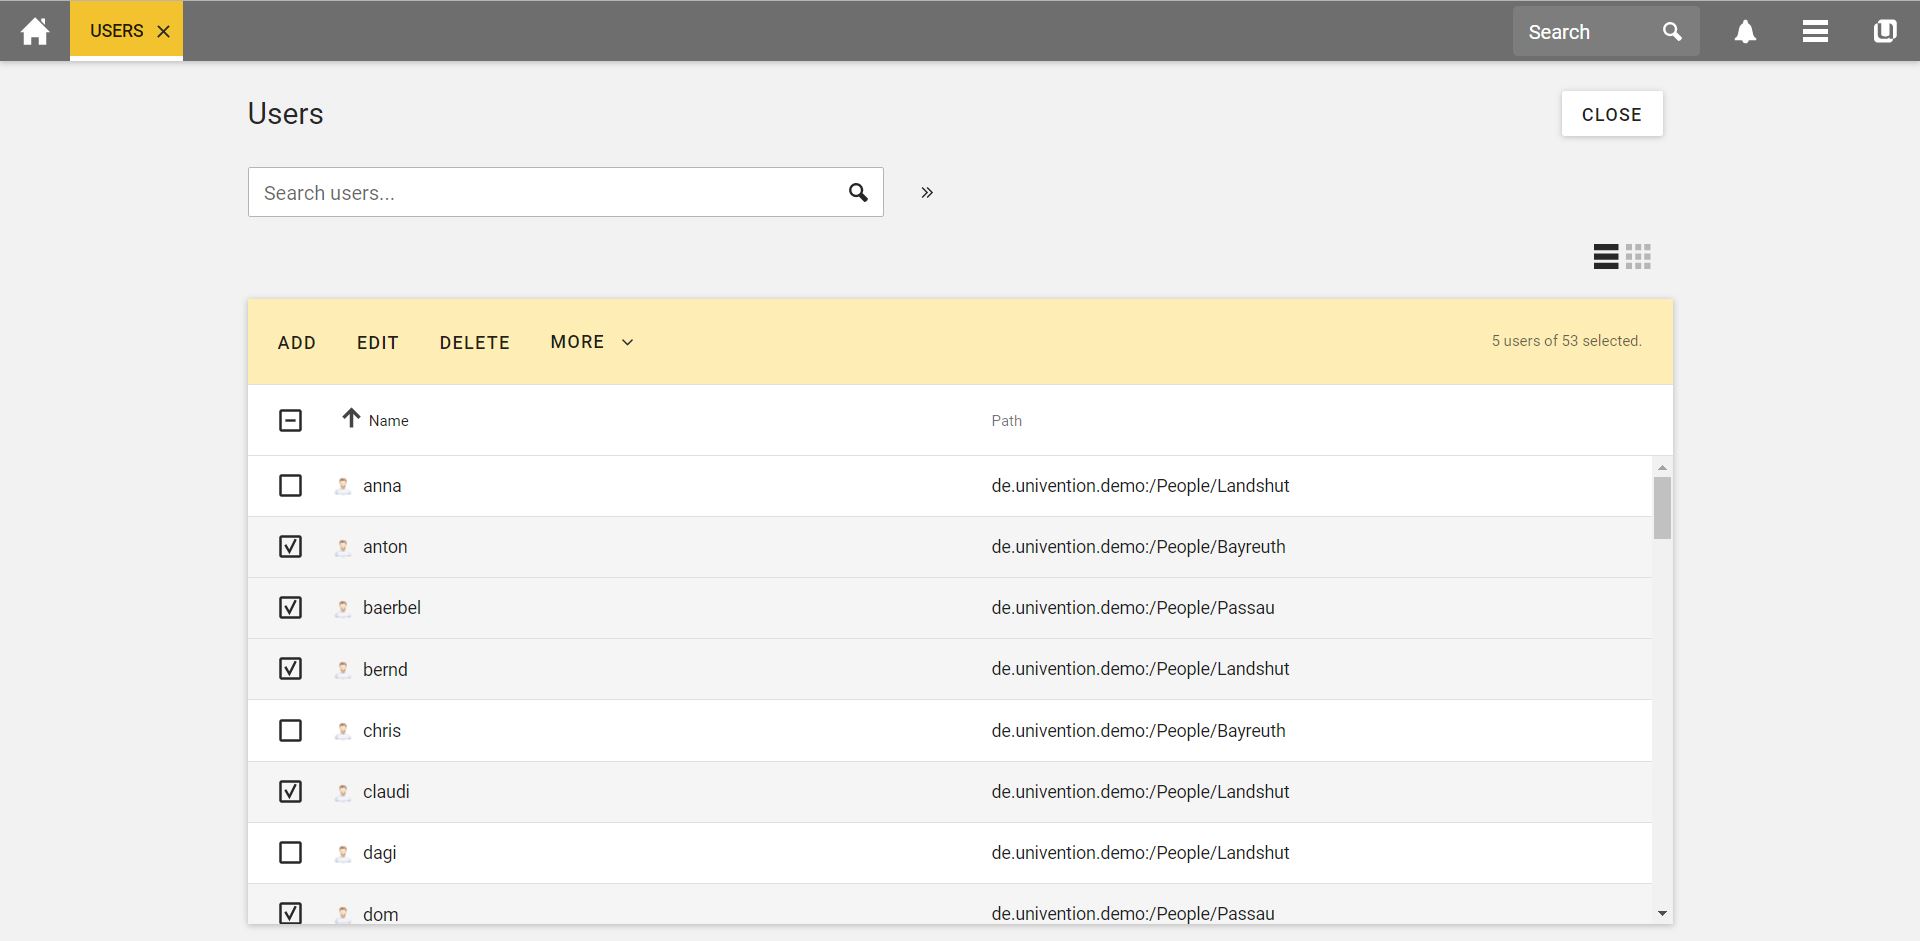
To edit multiple users simultaneously, either select different users by clicking on the box in front of the name or check the box next to the “Name” heading to select all or no users.
By clicking on „More“ you can also move users or create a report.
Using the “Edit” button, you can edit all users simultaneously and make various settings. Among other things you can change the password of all users at the same time. Obviously it is not recommended to change the first name and surname of all users at the same time.
If you additionally select “Overwrite” for an attribute, the existing, already defined entry will be replaced by the new entry. If you deselect the “Overwrite” option, the attribute is defined for those users who are missing this entry.
Deleting Users
If you want to delete users, select one or more in the user overview and click “Delete”.
This action can not be reversed, which means that these users are completely deleted. We recommend that you delete any objects belonging to the users directly with them. Otherwise, these objects remain on the servers without any function. To do this, select the option “Delete referring objects” in the confirmation window for the deletion.
As you can see, you can make a wide range of settings via the “Users” module. However, these can be easily found and intuitively handled from the respective tabs.
Should you have any comments or questions on this topic, I look forward to receiving your comments.


