User management is at the heart of every UCS Domain. Here you are creating, editing and finally deleting your users. Additional tasks such as name changes and new passwords are also happening here. Thus, let us take a look into the first steps of using UCS for the user management in your domain.
Searching for users
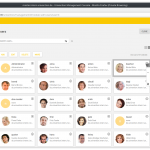
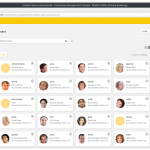
Find the user module in the yellow user category as an entry with the same name. Once you open the menu, you will see all users by default. Scrolling up and down in the list, you can browse the different users.
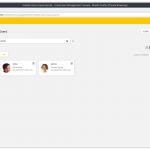
You can also search for a specific user by entering, among other things, the first name, last name, username or e-mail, also just parts of it, in the search bar. Pressing on the double arrow » next to the search field you open the extended search to scan for other attributes.
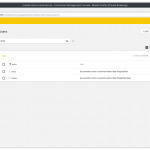
Basically you can choose between a list and picture view while searching for users. In case you imported user pictures into the UCS system, I would, of course, recommend the picture view.
User view
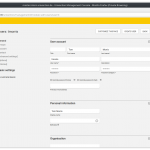
User details can be found in the user view. Just click on an existing user to open. You also get there automatically when creating a new user.
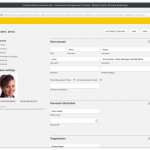
The first page of the menu shows the general user settings. Here you find the name, user name, e-mail, and password. Would you like to import a user’s picture, do that on the left side.
Menu entry “Groups”
The menu entry “Groups” allows you to manage the user’s group membership. We highly recommend that every user is a member of the group “Domain Users”, either as the primary group or in an additional group. Any other group membership can reflect your organization and especially represent complex organizational structures and tasks.
Menu entry “Account”
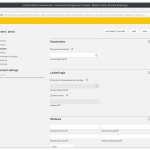
The entry “Account” provides you with control about the user account. One of the most important settings here are the Roaming Profiles and the ability to control which of the web services that are integrated in UCS can be accesssed.
Menu entry “Contact”
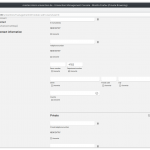
The “Contact” entry allows you to manage the physical address of the user as well as his phone number and e-mail. Please note that the e-mail address here is only valid for address books of attached software. For the actual mail server settings use the field “Primary E-Mail Address” on the general user view site.
The additional entries in the square brackets are meant for experienced administrators. Please refer to our handbook for more information.
Creating new users
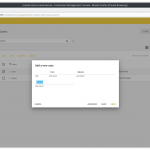
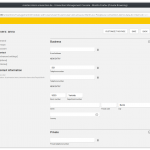
In the main menu, you can also create new users. Just click on the “Add” Button. A wizard guides you quickly through this process. Mandatory values are the last name, username, and password. Optionally, you can enter a first name and make some settings for the password. A click on “Create User” finishes the process.
The Option “Advanced” allows you to add additional information such as the e-mail address or the room number.
Modifying attributes
Click on a user in the user overview to modify it. Please note: Attributes with a grey overlay cannot be changed. Other characteristics like the e-mail address require the use of a specific syntax. If you do not follow it, the system will warn you.
When saving, the Univention Management Console will check the changes for consistency. If there is a mistake, the UMC will deny saving all changes and give you an error message.
Editing multiple entries
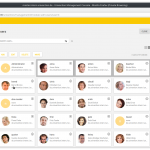
Maybe there are times when you want to edit multiple users at the same time? For example, if your company moves to a new location or if you want to add users to a recently introduced new service. Pressing the “Ctrl” key while selecting the corresponding users, you can edit multiple users at once. Another way is to change to the list view and click on the corresponding checkboxes. Once you have selected all the users, click on the “EDIT” Button. You see a user view where all fields are empty. Find the field you would like to change and enter the new value. Afterwards, select the checkbox “Overwrite” below the changed entry and click on Save.
Again, the UMC will check the changes before saving. If the checks fail for any user, the UMC will not change any user but give you an error message.
Password changes
In general, the password change is not different from changing any other attribute. However, there are two things to notice:
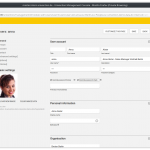
For one, you have to enter the password twice. This setting ensures that you did not make an error when giving the password. The other important point is that the UMC is observing the password policies for the domain. Thus even the administrator cannot just enter a password that is too short or which the user has already used another time. In case you need to disable this behavior, you activate the two boxes, “Override password history” and “Override password check”.
If you want the user to change the password during next login, please check the corresponding box unter the title “locked login” in the menu account.
Delete users
The UMC also enables you to delete users easily, for example, when a user leaves your organization. Right click on the user or select the little button in the right top corner of the user card. Select the entry “Delete” in the submenu and confirm the following dialog.
Please note that you cannot quickly undo the deletion process. Each user uses some defining attributes, which are randomized when creating a user. The system thus supposes that even a user with the same username is not equal to the deleted user. So please always make sure that you delete the right user.
Next steps
As demonstrated, the first steps in user administration with UCS are quick and easy. UCS, however, has many more options to manage users. The next articles in this series will thus look at managing user groups and at how to create users with templates.
For further questions, please leave a comment or contact us directly.