In this article we would like to guide you step by step through the installation of UCS, even though the graphic installation assistant makes the process already very easy. You can download UCS as an ISO or VMware image or start an EC2 image directly at Amazon Web Services.
Basic settings of the UCS installation
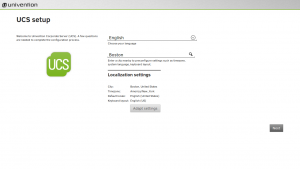
In the basic settings you first need to choose the language of the installation assistant and a city close to you. The system language, keyboard layout and timezone are set automatically. Of course, all settings can be altered manually.
Domain and network configuration
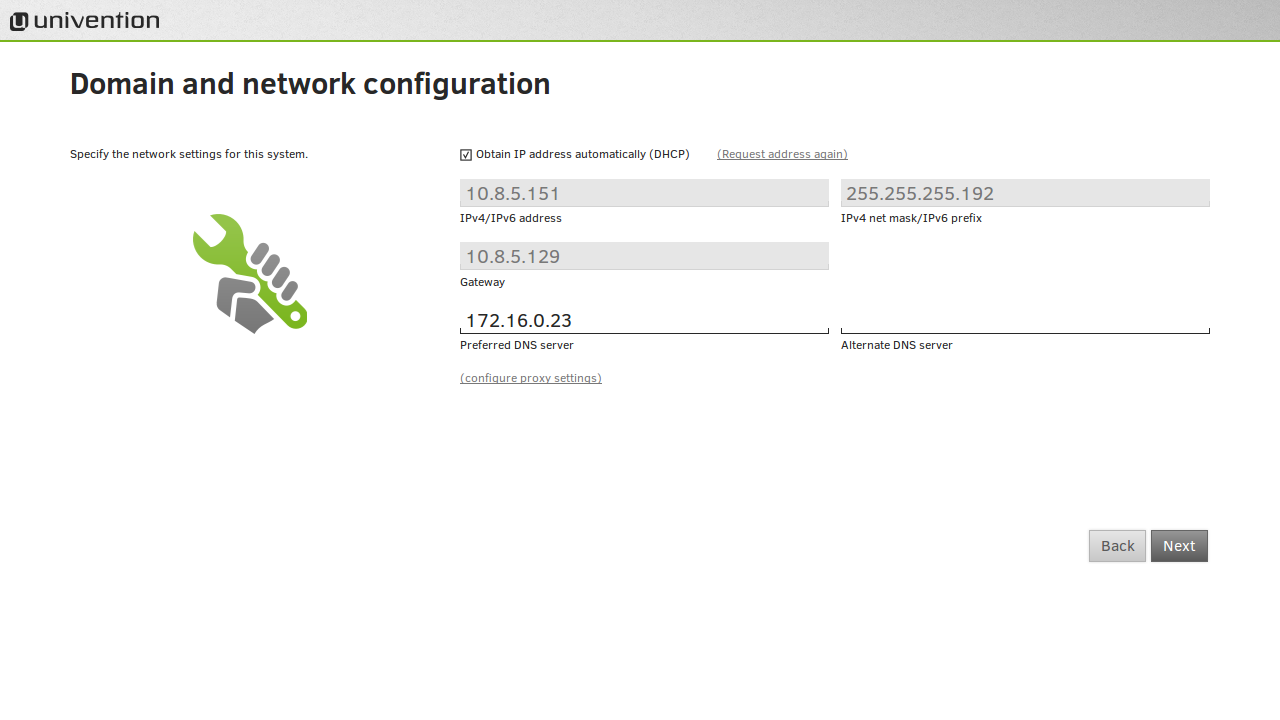
In the next step you determine the domain and network configurations. In most cases, you obtain an IP address automatically via DHCP. Alternatively, you can manually enter an IP address, a gateway and a net mask that are available in your network. If you work in a home network, you can enter the IP address of your router as DNS server. In company networks you can refer to IP addresses of dedicated DNS servers.
Domain setup to define system roles
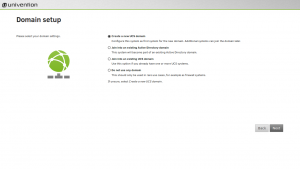
In this step you’ll need to define the domain role for the new UCS domain. You can choose between the following set ups.
- Create a new UCS domain. If you choose this option, additional systems can join to this domain later on.
- Join to an existing Active Directory domain. UCS will be part of the Active Directory domain.
- Join to an existing UCS domain. Choose this option if you want to join the new system to an existing UCS domain as DC slave or backup.
- Do not use any domain. A rare use case we could recommend, e.g., if you liked to use UCS as a firewall system only.
On the initial installation of UCS we recommend the creation of a new UCS domain. More information on the other scenarios can be found in our documentation.
Account information for the UCS installation
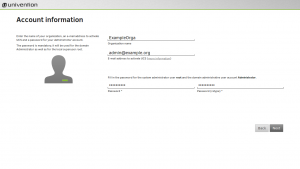
Enter here the name of your organization and an e-mail address for the activation of UCS. We need the address to send you the license key for the registration of the Univention App Center. Additionally, choose a secure password for the system administrator and the superuser root.
You are going to need these credentials to access the system via the Univention Management Console or command line once the installation process is completed. The passwords for the administrator and root user are identical at first, but we highly recommend to change them individually later.
Host settings
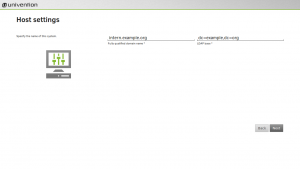
Here you need to enter a fully qualified domain name. Best practice is to choose a subdomain of a DNS domain controlled by you. For example, if you registered the domain example.org, you can use intern.example.org. The dedicated LDAP base is determined automatically.
Software configuration during the UCS installation
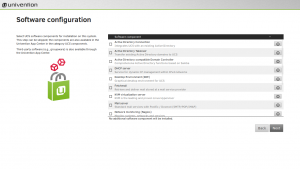
You can choose software components that you like to include into the initial UCS installation. Of course, you can always install all components from the Univention App Center after completion of the installation.
Confirm configuration settings
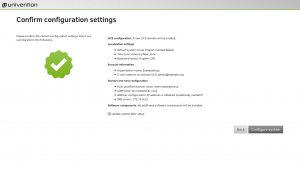
Finally, a list with all settings and information for your UCS installation is provided. You can here either make further adjustments or start the installation.
