From pandemics to corporate training, new technologies have transformed the landscape of learning dramatically in recent years. It is especially true in the area of learning platforms. Whether used for self-study or to coordinate homework, learning platforms have become an integral part of almost all educational institutions. Many UCS@school users rely on the well-known Open Source solution Moodle, which can be adapted to individual needs in terms of content and presentation. By integrating Moodle into UCS@school, which we offer as so-called “cool solutions“, teachers and students can easily log in to their courses and classes with their familiar user data.
Table of Contents
The First Step: Installing Moodle
UCS makes it very easy to install Moodle from the UCS command line. See our help article Install Moodle for detailed step-by-step instructions on how to install Moodle on UCS.
Once the installation is complete, the server will be available at https:///moodle and you can log in to it with the username you chose during the installation.
The Second Step: Integrating Moodle into UCS@school
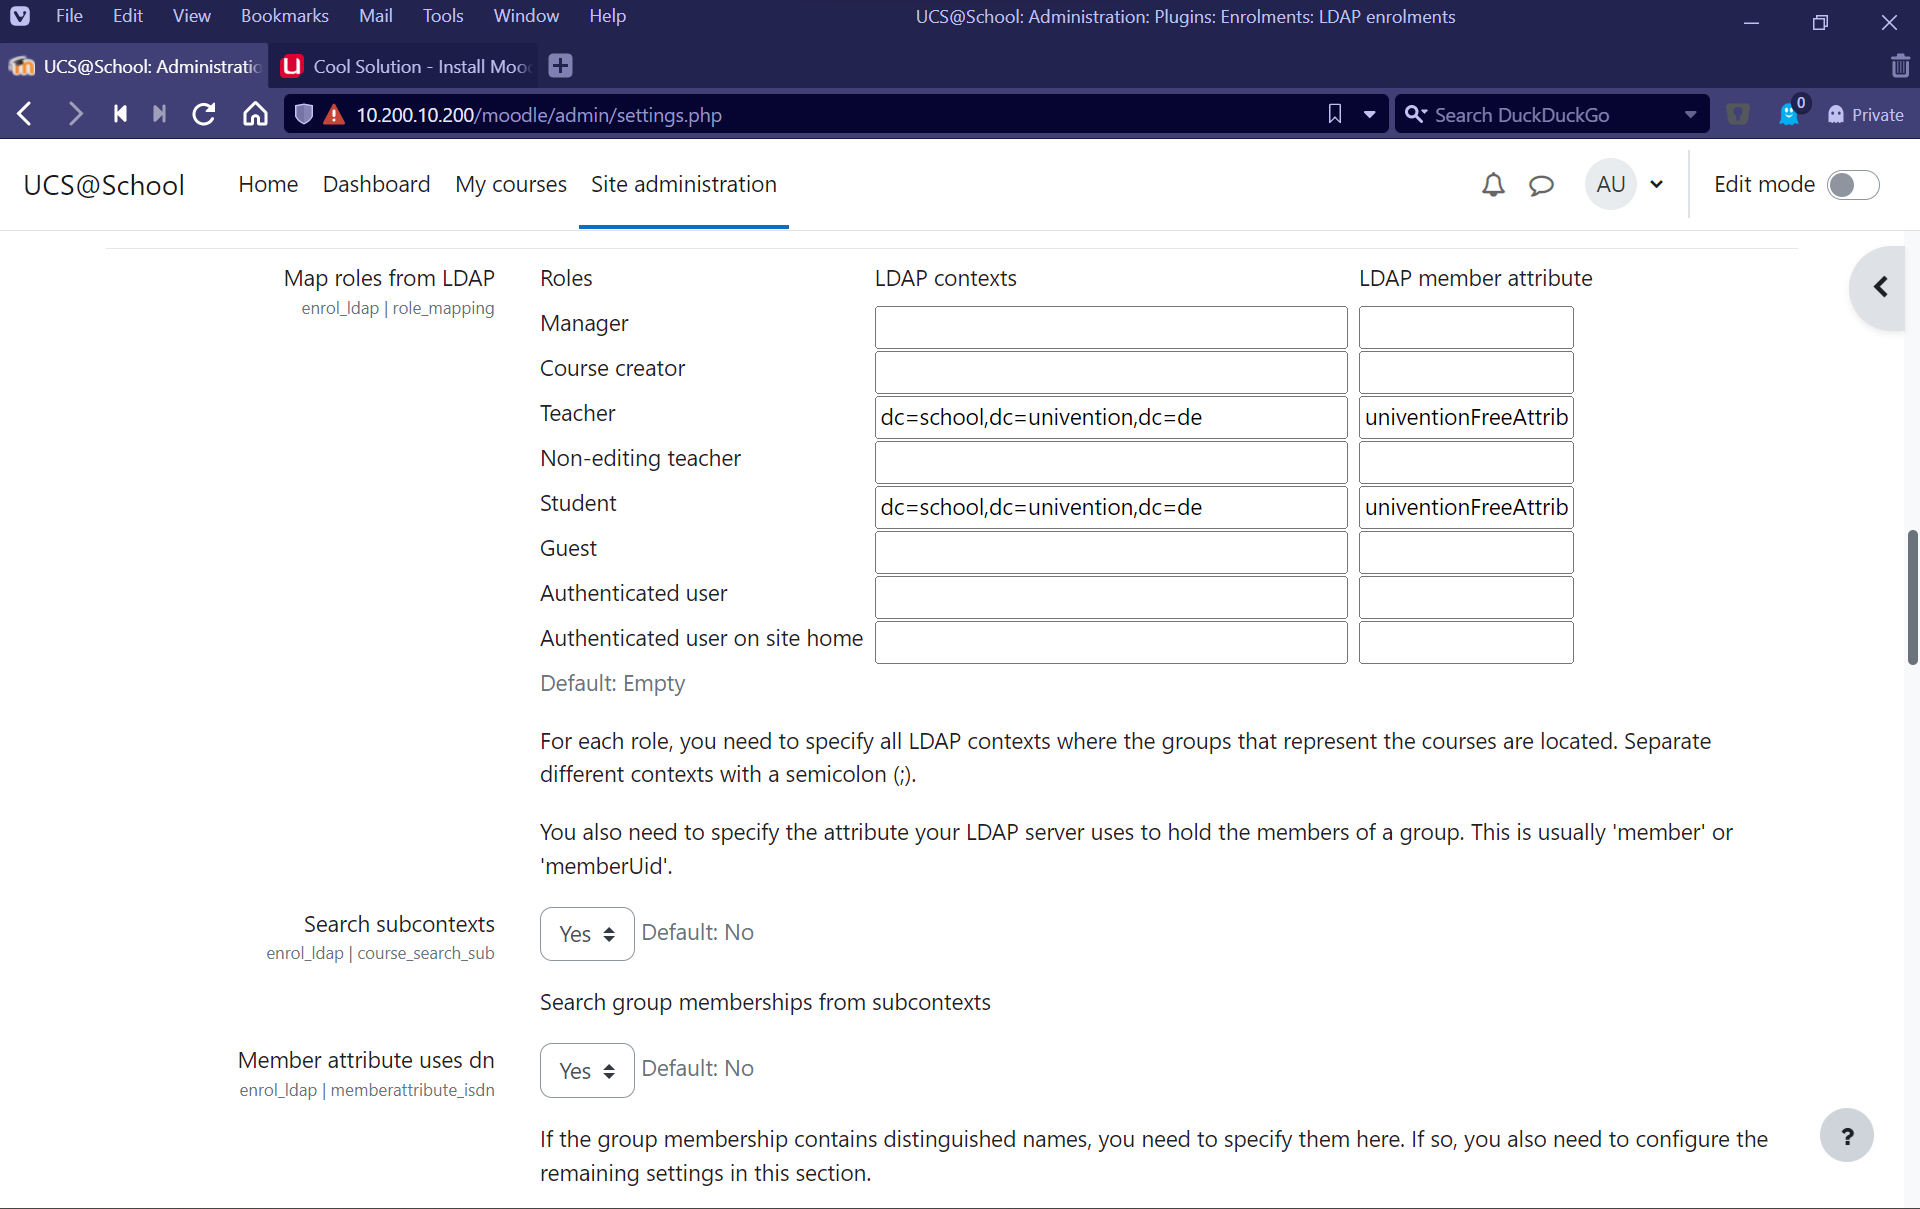
For productive use, Moodle needs the users’ digital identities. Moodle divides the integration of users into two steps: “Enrollment” refers to creating user accounts and assigning them to classes. “Authentication” refers to the user login process, either by entering a password or by single-sign-on using the UCS@school user account.
The Moodle LDAP enrollment requirements are slightly different from the UCS@school LDAP. For this reason, we have provided a short script for you in our Cool Solutions Repository to make faculty and student identities stored in UCS@school compatible with Moodle. Once installed on the UCS primary server, it works independently in the background while you continue to use UCS@school as usual.
Almost There: The Moodle Login
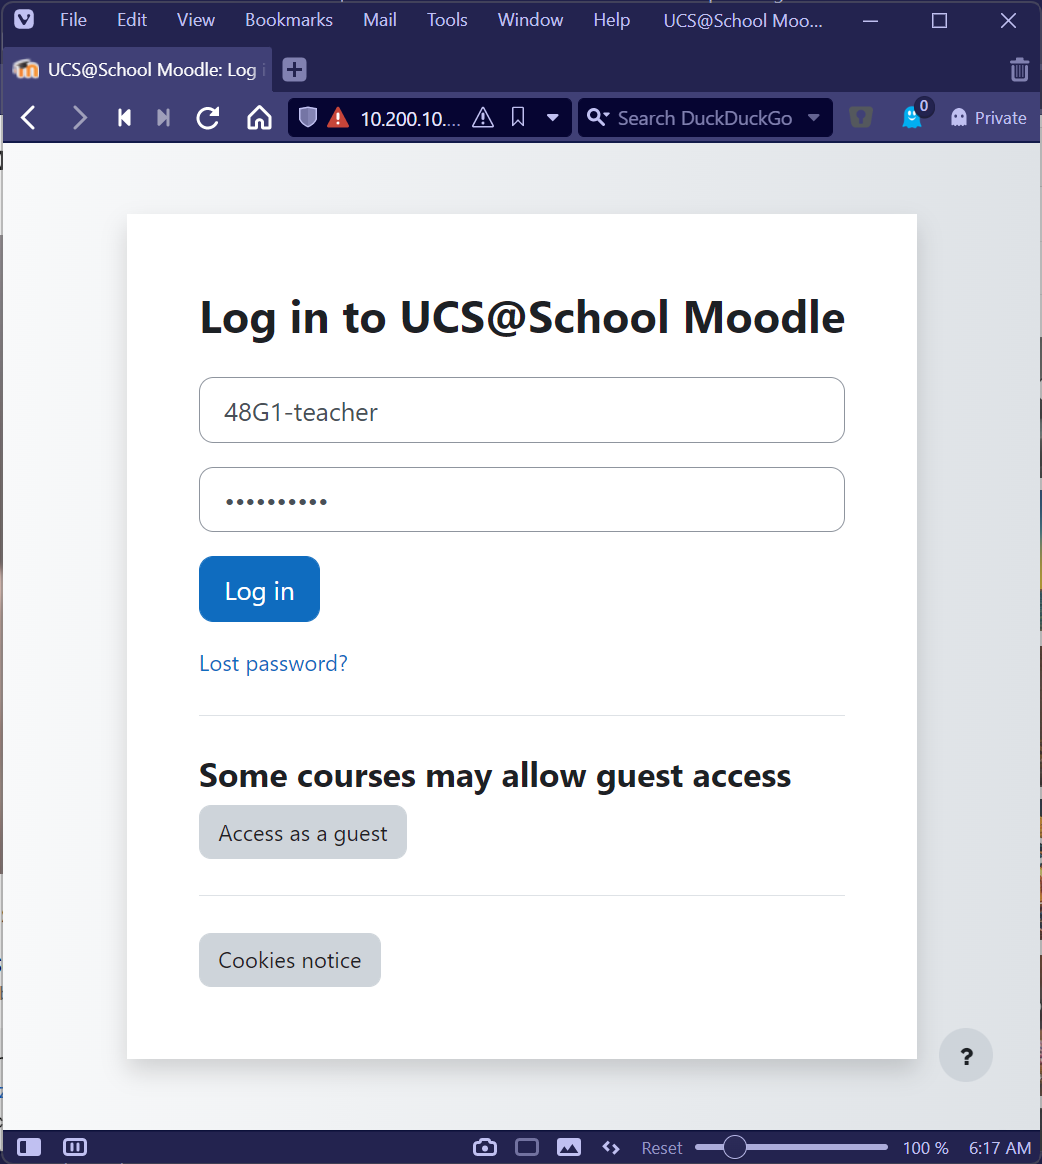
Of course, to use Moodle, end users need to log in to the system. UCS offers two ways to log in. Use SAML to implement single-sign-on. More about in our help article Moodle SAML Authentication.
And if UCS cannot be reached by the user, the LDAP integration, about which you can find more information in the help article Moodle LDAP Authentication, allows users to log in to Moodle directly by using their usual username and password combination. In this case, Moodle uses the connection to check the authenticity and rights of the respective user.
Leading by Example: Enrolling Teachers at the Start of the School Year
Once installed, Moodle is available to teachers and students. Note, however, that classes are not available until the first user in a class has logged in to the system. It is therefore a good idea for all teachers to do so before the start of the school year to ensure that classes are available. Also, changes to classes and users will not take effect until the user logs in the next time.
Further Integrations
Other plugins, such as integrations from our partners
ownCloud (https://docs.moodle.org/402/en/ownCloud_Repository),
Nextcloud (https://docs.moodle.org/402/en/Nextcloud_repository), or
Collabora (https://moodle.org/plugins/mod_collabora)
can operate concurrently with the UCS LDAP and SAML integration with no problems. Also, the integration does not change the look and feel of the Moodle user interface, so users will not notice anything about it – except that they can log in easily.
I hope I was able to give you some useful guidance on how to integrate Moodle with UCS@school in this short how-to. Feel free to leave any questions, comments or suggestions in the comments below this article. I look forward to receiving your feedback.


