
Log in once and automatically gain access to all programs and services – Single Sign-On (SSO) is a proven tool against the ever-increasing password fatigue among users. This is why many companies and educational institutions make it possible for users to log on centrally and only once.
It is also easy to set up Single Sign-On with UCS (see links at the end of this article). In this article I would like to show you how to link Nextcloud to UCS’s SSO mechanism.
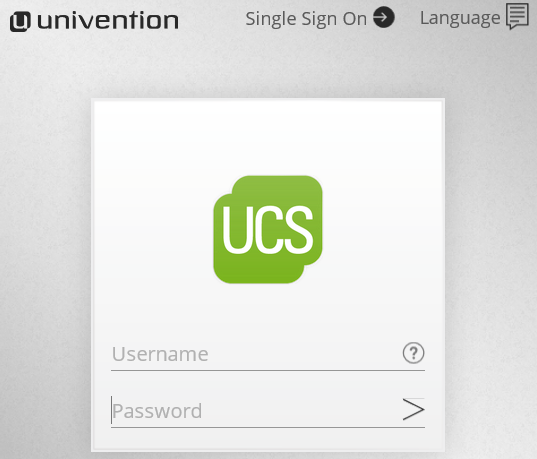
However, before you start configuring Nextcloud and UCS, you should double-check that Single Sign-On with SAML works in your UCS environment. Just open the following URL in your browser:
https://<Hostname of Domaincontroller Master>/univention/saml
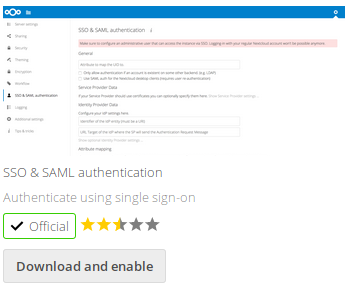
Nextcloud-App: SSO & SAML authentication
As with UCS, Nextcloud has a wealth of apps that provide additional services and features. The app SSO & SAML authentication integrates Nextcloud into an existing SSO solution. It comes preinstalled with the Nextcloud version from the Univention App Center and all you have to do is activate it.
Simply log into your Nextcloud installation as an administrator and go to the Apps section in the menu at the in the upper right corner. On the left, go to Integration and enable the app by clicking on the button of the same name.
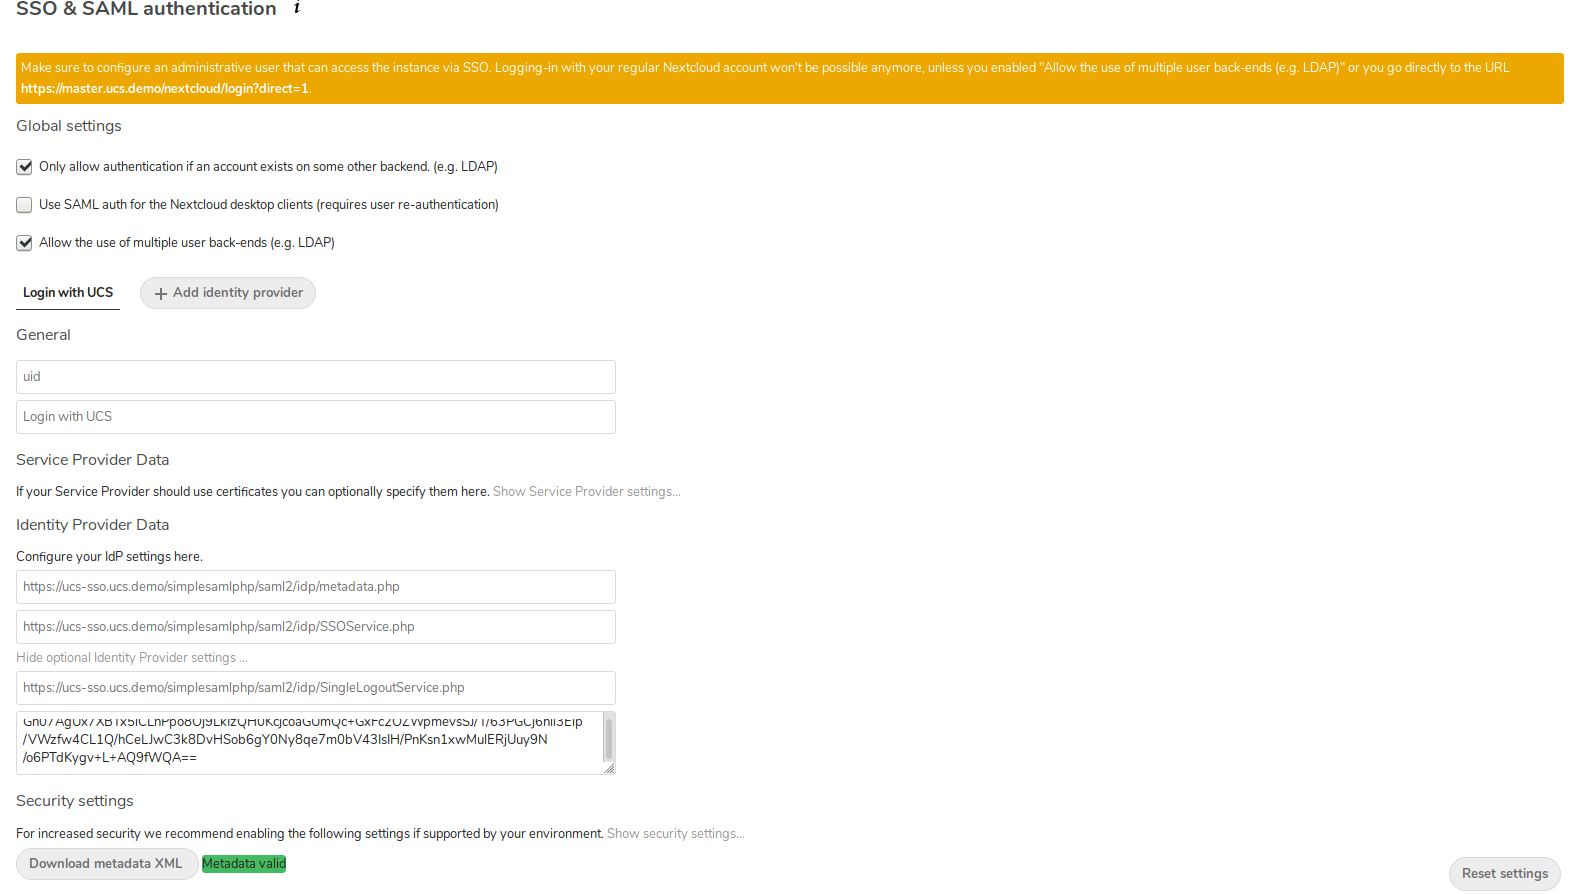
 Then switch to Nextcloud settings via the menu in the upper right corner. Scroll to the new item SSO & SAML authentication on the left. Left click on the Use integrated SAML authentication button. A configuration screen pops up in which you make the following settings:
- Select the „Allow login only if there is an account on another Backend“ checkbox.
- Next, decide whether you want to allow Nextcloud login only via SSO or also via LDAP. We recommend to activate the option „Allow the use of multiple user-backends“, as you will not lose administrative access to your Nextcloud installation in case of problems with SSO.
- Enter
uidin the „Attribute to map the UID to“ field. - You can leave the field „Optional display name of the identity provider“ empty to accept the default setting „SSO & SAML Login“. You can also enter your own identifier, such as Single Sign-On.
- In the box „Identifier of the IdP entity“, enter the address
https://ucs-sso.ucs.demo/simplesamlphp/saml2/idp/metadata.phpand replaceucs-sso.ucs.demowith the hostname under which your IdP can be reached. Tip: You can find out the name of the host by using the command ucr, which you enter in a terminal window on the Domaincontroller Master:
$ ucr get saml/idp/entityID
https://ucs-sso.ucs.demo/simplesamlphp/saml2/idp/metadata.php - Below, in the field „URL target of the IdP where the SP will send the Authentication Request Message“, enter the address
https://ucs-sso.ucs.demo/simplesamlphp/saml2/idp/SSOService.php; replaceucs-sso.ucs.demowith the correct hostname.
Click Show optional Identity Provider settings to expand two more fields.
- The first box (URL Location of the IdP where the SP will send the SLO Request) should contain
https://ucs-sso.ucs.demo/simplesamlphp/saml2/idp/SingleLogoutService.php(with the appropriate hostname instead ofucs-sso.ucs.demo). - In the box „Public X.509 Certificate of the IdP“, enter the certificate of the UCS IdP.
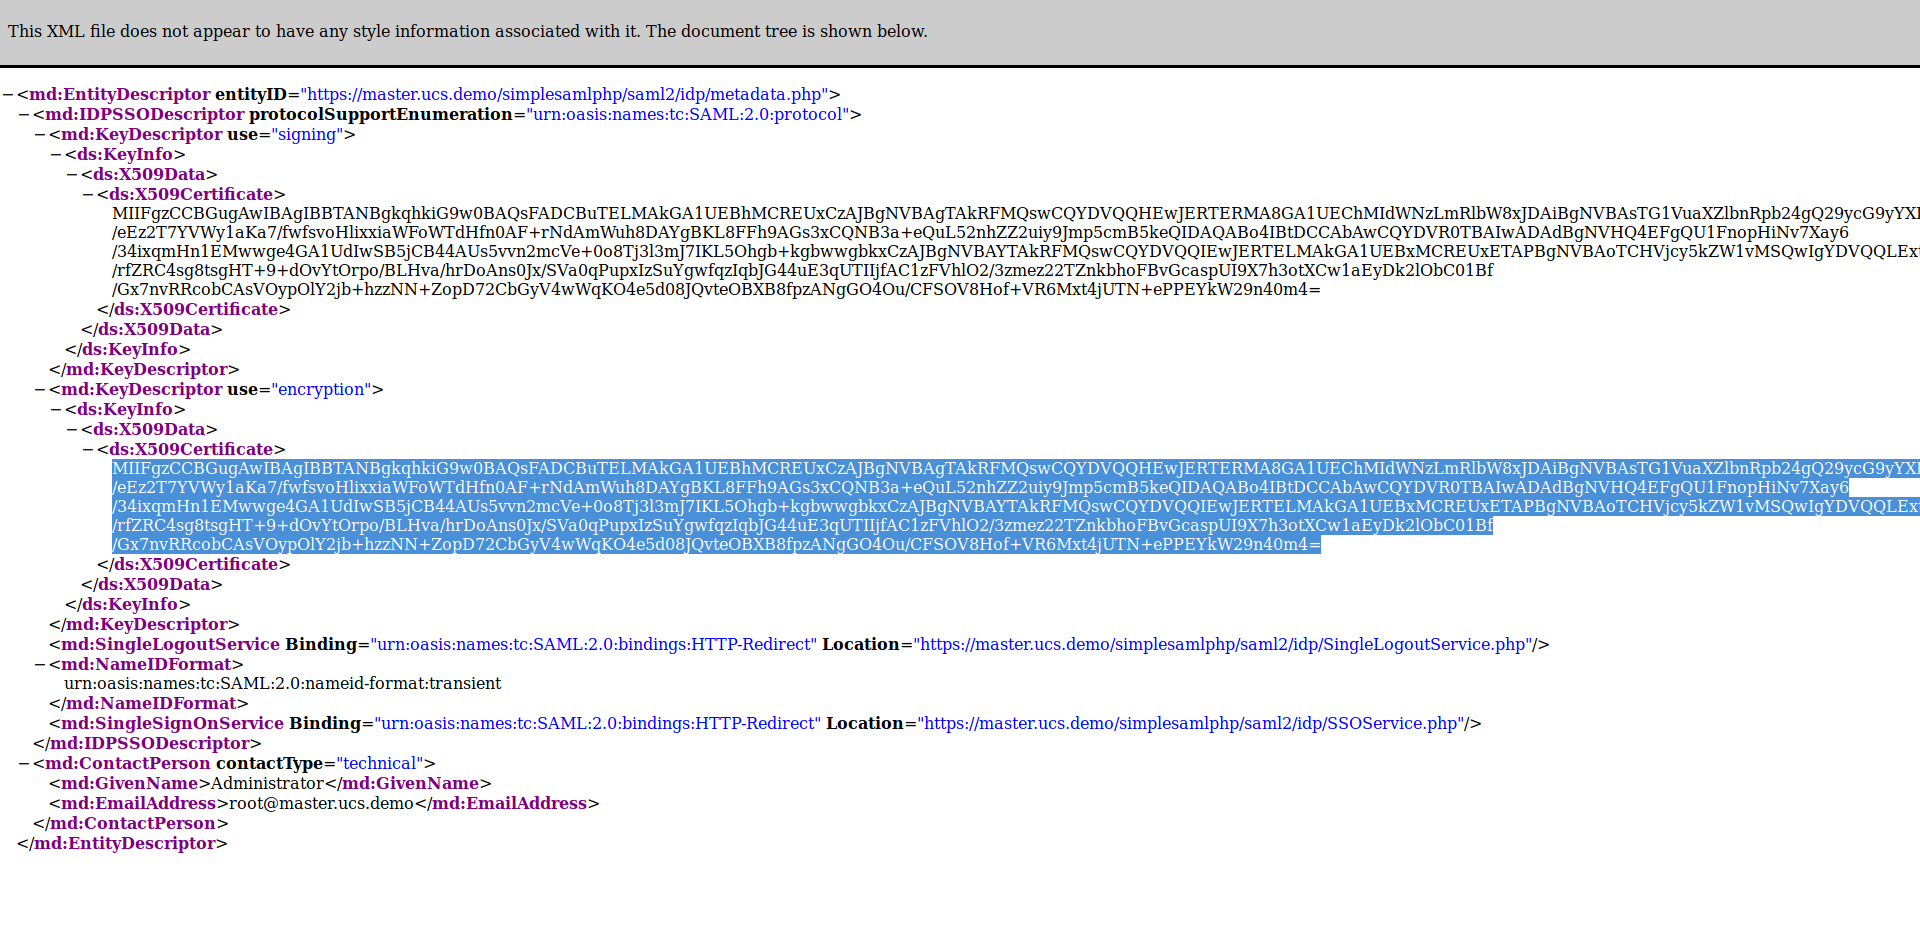
You can find the certificate if you look at the metadata of the IdP in your browser. The URL can be found with the ucr get saml/idp/entityID command, which you enter into a terminal window. If you open the address in your browser, you will see an XML file. The „ds:X509 Certificate“ entry contains the certificate that you copy & paste into the Nextcloud configuration.
This is what the settings of the Nextcloud app look like on our test computer:
Configuring Service Providers in UCS
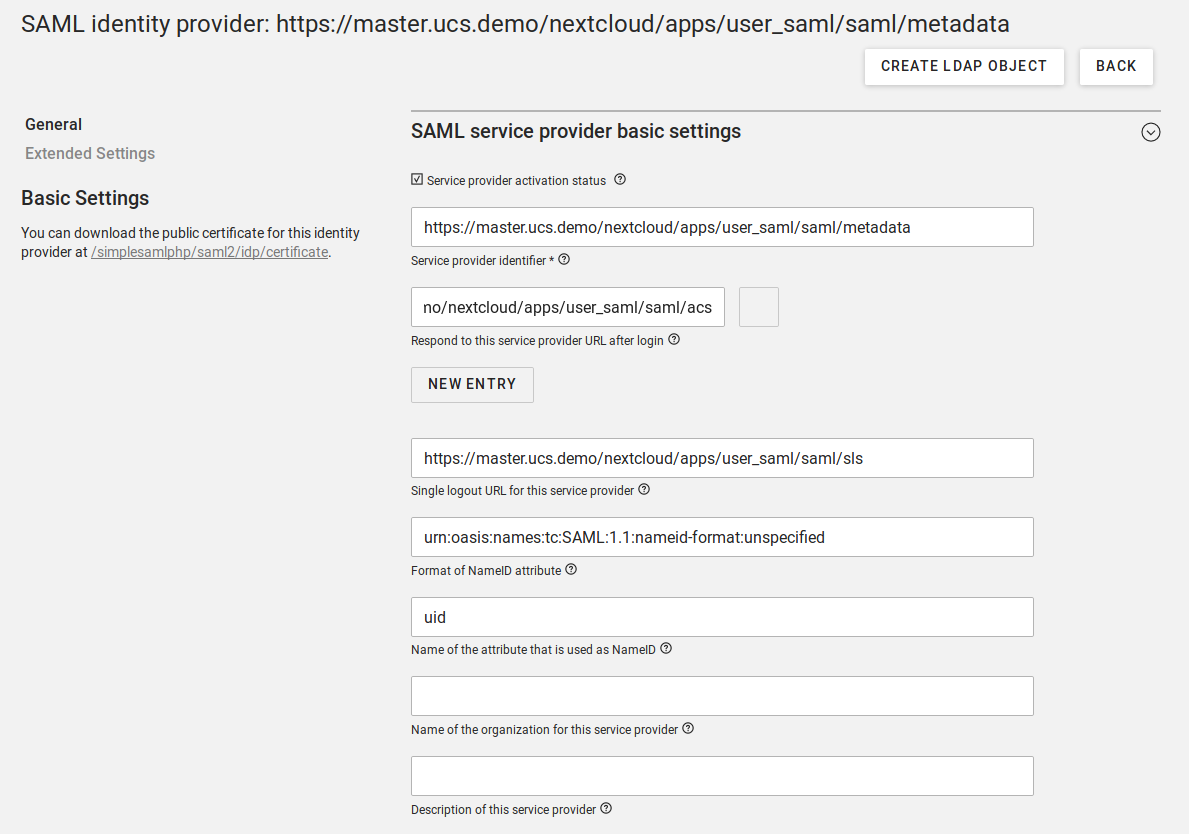
On the UCS site, you now need to create a service provider (SP) for Nextcloud. Log in as Administrator and open the Univention Management Console. Switch to the „Domain“ category (highlighted in blue) and open the „SAML identity provider“ module there. Click on Add to create a new service provider entry containing the following settings:
• Enter https://master.ucs.demo/nextcloud/apps/user_saml/saml/metadata in the box „Service provider identifier“ and replace master.ucs.demo with the correct hostname of your Nextcloud server.
• Below, enter the following for the box “Respond to this service provider URL after you have logged in“: https://master.ucs.demo/nextcloud/apps/user_saml/saml/acs
• The box „Format of NameID attribute“ must contain the following entry: urn:oasis:names:tc:SAML:1.1:nameid-format:unspecified
• Finally, type uid in the box „Name of the attribute that is used as NameID“. This is what the settings look like on our test computer:
Click on Extended Settings on the left and select the „Allow transmission of ldap attributes to the service provider“ option on the right. Finally, click Create to save the settings.

Activating Single Sign-On for Users
For UCS users to be able to use the SSO for Nextcloud, you must activate the service provider at their user objects. To do this, switch to the module „Users“ (yellow) in the Univention Management Console. Now select one or more accounts you wish to edit and click Edit. On the left switch to the tab called „Account“ and scroll down to „SAML Settings“. Click Add to unlock service providers for the users. Select the Nextcloud Service Provider you just created, then click Add, select the box Overwrite and Save your changes at the top of the page.
 1 Password for All Services and Networks with Single Sign-on
Learn how Single Sign-On (SSO) helps to work more efficiently and safely. For users, SSO means a one-time login and the subsequent use of various programs without having to log in repeatedly individually.

