Become Part of our Team and Push Digital Sovereignty
- Teamleader IT / Project Manager (m/f/x)
- IT Consultant (m/f/x)
- Outbound Sales Represantative (m/f/x)
- a.m.m.

You have downloaded a so-called VM (virtual machine) image of Univention Corporate Server (UCS) or any app appliance offered in the Univention App Catalog, and selected VMware or VirtualBox as format. This guide shows what to do next with the downloaded files and how to get the VM images started as a virtual machine.
For UCS the files look like this:
VirtualBox and VMware are both hypervisors that can be downloaded from the product pages:
Select the appropriate version for your operating system, download and install it. Please refer to the product’s documentation for more details on the installation.
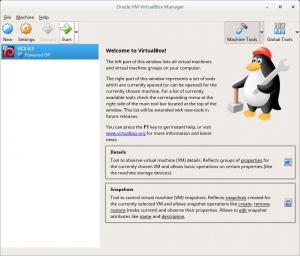
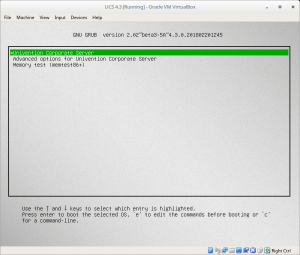
After you have downloaded the VM image, downloaded and installed the hypervisor, you can import the pre-built appliance and run it. The steps differ depending on the used hypervisor.
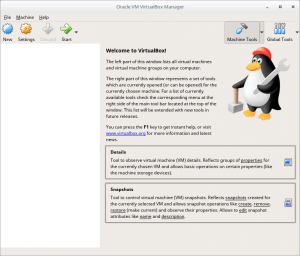
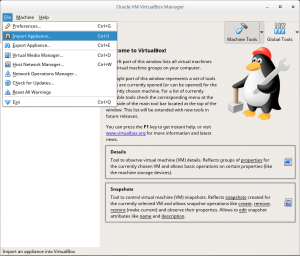
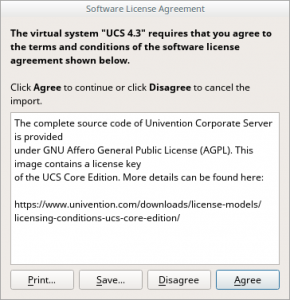
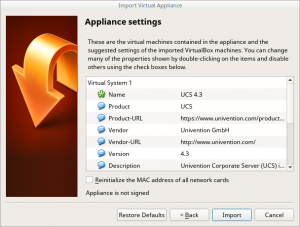
Import the VM image by selecting the downloaded file, accepting the software license agreement and start the import.
1. Select “Import Appliance”
2. Select the VM image file downloaded before
3. Confirm the VM image settings
4. Agree the image‘s Software License Agreement
5. Import progress
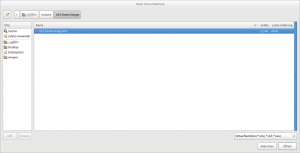
Unzip the downloaded VMware appliance file to a folder of your choice. The archive contains a subfolder. For example the Vmware appliance with UCS contains the following files in the subfolder “UCS-Demo-Image”:
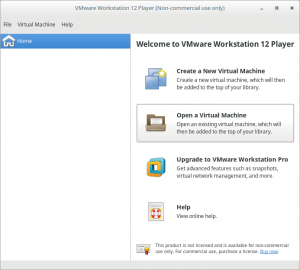
Import the VM image by selecting the downloaded file and start the import.
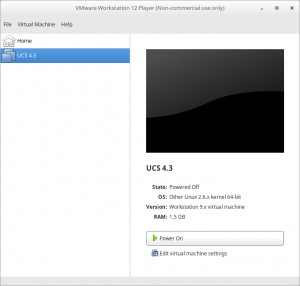
1. Click on “Open a Virtual Machine”, select the subfolder of the extracted files, and open the UCS-Demo-Image.vmx file.
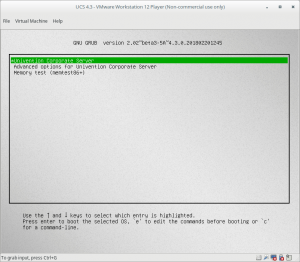
2. Click on “Power On” to start the virtual machine and run the pre-installed UCS system.
Note for users of Linux Desktops: VMware Workstation Player version 14.1 has a bug opening the virtual machine. Please follow the instructions in the Univention Forum.